Selenium網站自動化測試:如何擷取螢幕畫面
這篇文章主要說明當作網站自動化測試的時候,如何在自動測試過程中擷取螢幕畫面並且存檔。當自動化測試錯誤發生的時候,擷取螢幕畫面可以幫助我們了解當時所發生的狀況。
最後並提供一個完整可執行的Java程式範例。讀者可以參考 TakesScreenshot()這個 method做日後使用。
測試情境
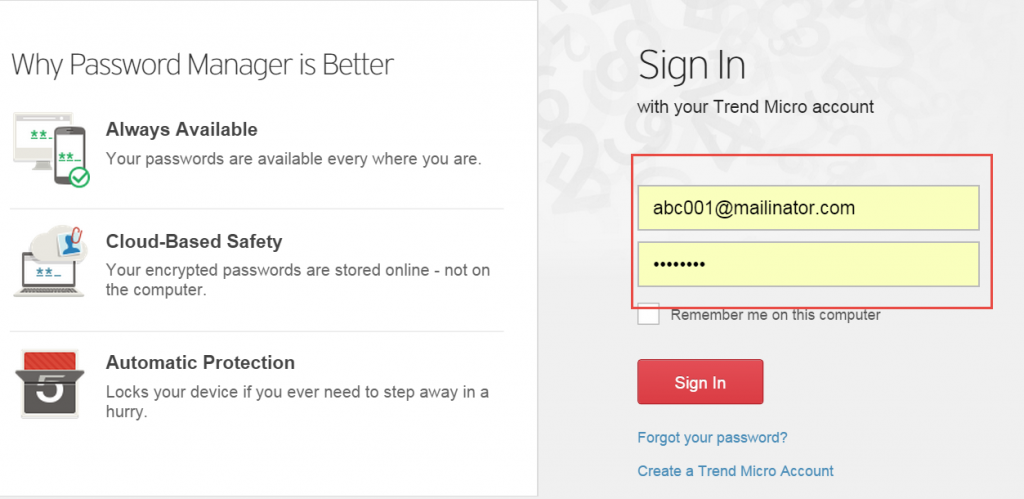
這個測試情境,我們將利用這個網站,在登入前做一個 screenshot,按下 submit按鈕後再做另一個 screenshot
https://www.directpass.com/signin
程式說明
這個程式最主要的就是這段 “TakesScreenshot”
TakesScreenshot可以擷取螢幕畫面,並且將該畫面圖檔儲存到指定檔名。
[pastacode lang=”java” message=”Selenium Takes Screen shot” highlight=”” provider=”manual”]
	public void TakesScreenshot(String fn)
	{

		try {
			File scrFile = ((TakesScreenshot)driver).getScreenshotAs(OutputType.FILE);
			FileUtils.copyFile(scrFile, new File(fn));
	    } catch (Exception e) {
	        e.printStackTrace();
	    }
	}
[/pastacode]
如何使用?
僅需給予一個檔名即可,例如, 畫面圖檔儲存檔名為 “my1.png”
TakesScreenshot(“my1.png”);
Selenium完整程式範例
[pastacode lang=”java” message=”Selenium Screen Shot” highlight=”” provider=”manual”]
package mySelenium;


import org.apache.commons.io.FileUtils;
import org.junit.After;
import org.junit.Before;
import org.junit.Test;
import org.openqa.selenium.*;
import org.openqa.selenium.firefox.FirefoxDriver;

import java.io.File;

public class ScreenshotTests {

	WebDriver driver;
	private String filename;

	@Before
	public void setUp()
	{
		driver = new FirefoxDriver();
		driver.get("http://www.directpass.com/signin");

		//myScreenShot mys = new myScreenShot(driver,"my1.png");

	}

	public void TakesScreenshot(String fn)
	{

		try {
			File scrFile = ((TakesScreenshot)driver).getScreenshotAs(OutputType.FILE);
			FileUtils.copyFile(scrFile, new File(fn));
	    } catch (Exception e) {
	        e.printStackTrace();
	    }
	}

	@Test
	public void testVisitPageScreenshot()
	{
		TakesScreenshot("my1.png");
	}

	@Test
	public void testWrongUserNameScreenshot(){

		WebElement SignInBtn = driver.findElement(By.xpath("//button[@id='signin-form-submit']"));
		SignInBtn.click();
		TakesScreenshot("my2.png");

	  }

	@After
	public void teadDown()
	{
		driver.close();
		driver.quit();
	}

}
[/pastacode]
